
15 October 2025
This October half term, unleash you kids' creativity by making some spooky crafts.
Whether it's spook-tacular crafts or autumnal art, we have activities for all the family. This half term, we've got the perfcet activity for you to do at home with the kids with full step-by-step instructions.
Join us for your family adventure at Whipsnade Zoo this Halloween
Get ready, little monsters and brave families - Boo at the Zoo returns to Whipsnade Zoo this October half term! Discover a fantastic family adventured filled with spooky fun, animal secrets, and Halloween surprises, all while helping to protect wildlife and endangered species.
Toilet roll tube bats
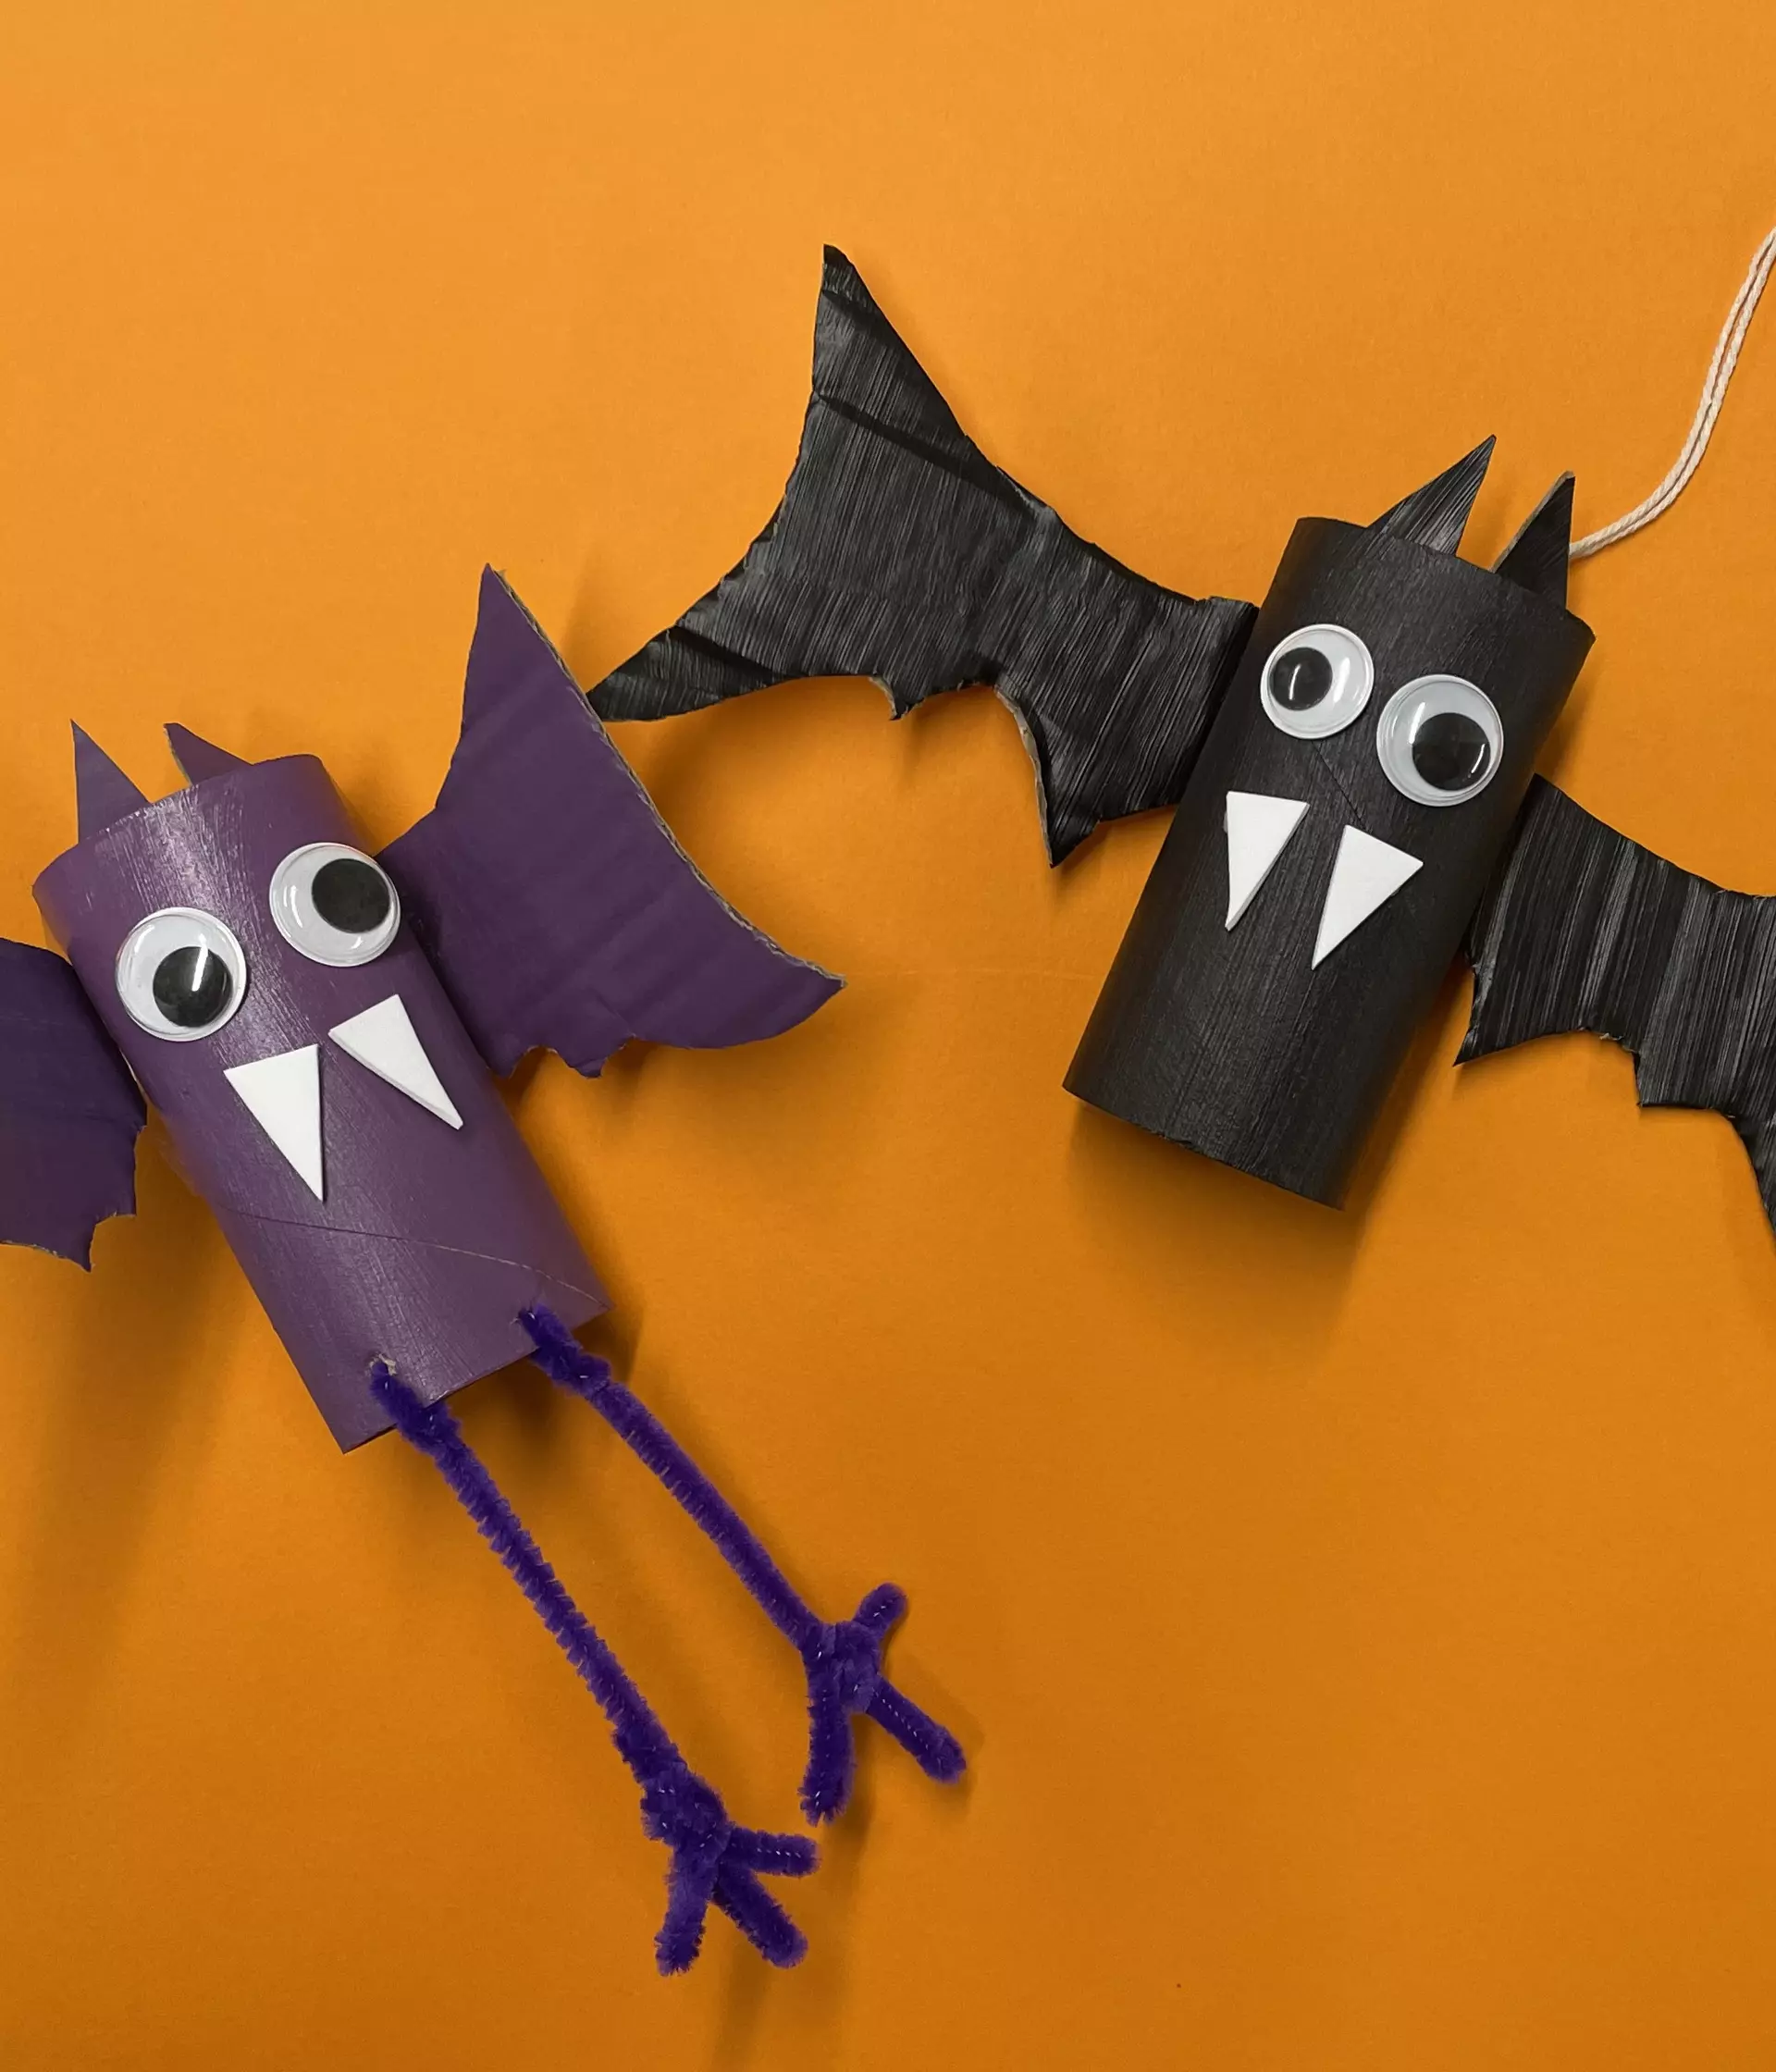
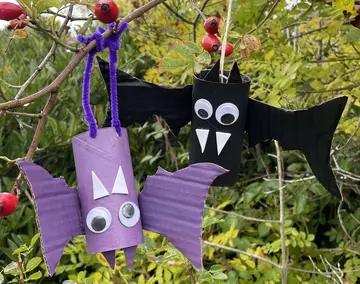
Halloween wouldn't be Halloween without bats. And since we're celebrating Bat Week for the whole half term holiday at Whipsnade Zoo, what would be better than trying a bat craft? Even better, this craft uses recycled materials that you probably have lying around your home!
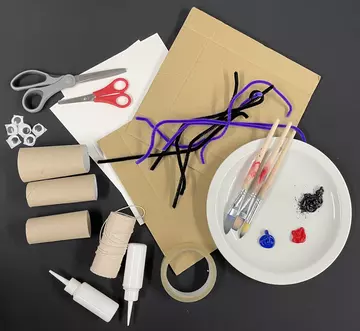
You will need:
- toilet roll tubes
- colour cardstock or recycled cardboard
- googly eyes (optional)
- white paper or cardstock
- scissors
- glue
- paint (colour of your choice)
- paintbrushes
- string (optional)
- black pipe cleaners (optional)
- bat wing template (optional)
Before you begin
This activity does involve using scissors, so little ones will need to be supervised.
Step 1:
Making the body
Paint the toilet roll tube the colour you would like you bat to be, we've chosen black and purple for our bats for that extra spooky feel. Let the paint dry.
Step 2:
Making the wings
With either coloured cardstock, or painted cardboard to match the colour of your bat, draw and cut out a pair of bat wings for your bat. You can use a template you find online or freehand your bat wing to make them unique!
Step 3:
Stick on the wings
Glue the straight edges of the wings to the back on the toilet roll tube.
Step 4:
Adding the face
Glue on googly eyes to the front of the toilet roll tube. If you don't have googly eyes, make some eyes by cutting white cardstock into circles and painting on black dots. You may also want to cut out triangles to make some fangs, and sticking these with glue under the eyes.
Step 5:
Adding details
If you want to hang your bat up, stick or glue string to the inside of the toilet roll tube. Alternatively, you could attach some pipe cleaners to the tube to have your bats hanging upside down with its feet. To do this, poke holes through the bottom of the toilet roll tube, and thread a pipe cleaner through each of these holes.
How to do salt painting
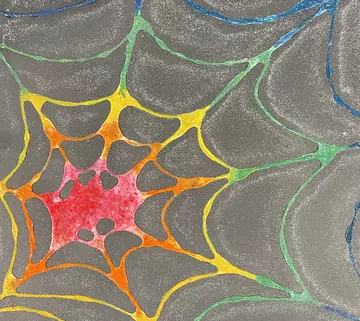
If you enjoyed taking part in our spooky science shows at Boo at the Zoo, you'll love this craft activity. This activity combines science, colour, and lots of fun, and afterwards you'll have created some beautiful art to display for Halloween.
You will need:
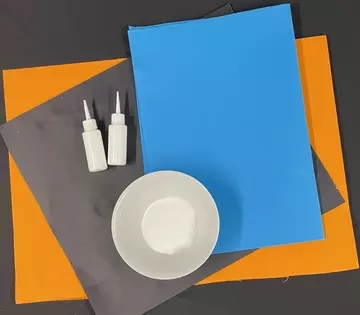
- cardstock or carboard - we suggest darker card to really show off the colours
- PVA glue
- salt
- paint - acrylic or watercolour
- paint brushes
- pencils
Step 1:
Design your art
Using a pencil, sketch out your cobweb design. You can either draw your own design or find an outline to trace other online.
Step 2:
Draw with glue
Dribble your PVA glue over your design. It can be as neat or as messy as you like - all spiderwebs are unique!
Step 3:
Adding the salt
Sprinkle over a generous amount of salt over the PVA glue, completely covering your design. Tilt the paper over a container (if you want to re-use for another project) or a bin to remove the excess salt. Allow the glue and salt to dry.
Step 4:
Create magic
Once the glue is dry, use paintbrushes to carefully add drops of watery paint onto the salt. Watch as the colours spread along the salt to create beautiful colour patterns.
Finger painting ideas
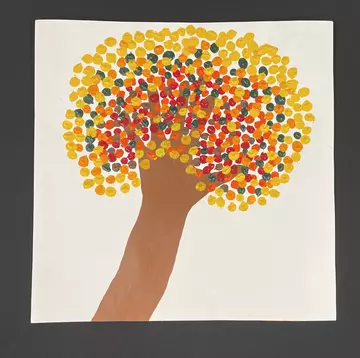
Autumn is the time of year that the leaves turn beautiful shades of reds, oranges, and yellows. Capture these colours by using your hands and fingers to paint an autumn tree in this fun and easy craft. This is a lovely activity to let kids get messy with paint as well as allowing them to develop their fine motor skills.
You will need:
- acrylic or poster paint
- paper
- your fingers!
- cotton buds and paint brushes (optional - for those who don't want to use their hands)
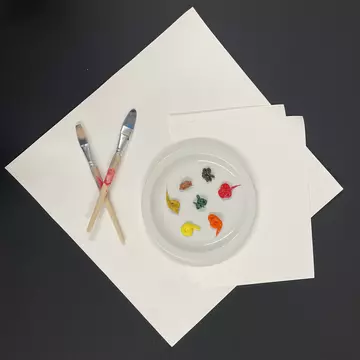
Before you start
This activity can get messy, make sure you're wearing an apron or clothes that you don't mind getting covered with paint.
Step 1:
Make your tree
Paint the palm of your hand and part of your arm with brown paint then with your fingers spread wide, press your palm against the white paper/cardstock. You may need to use a paintbrush to fill in any gaps where your skin didn't touch the paper.
Step 2:
Make the leaves
Dipping your finger into your chosen paint colour, press your finger onto the page to make your leaf. Repeat this until you get a whole tree covered in autumnal leaves.